We may earn money or products from the companies mentioned in this post.
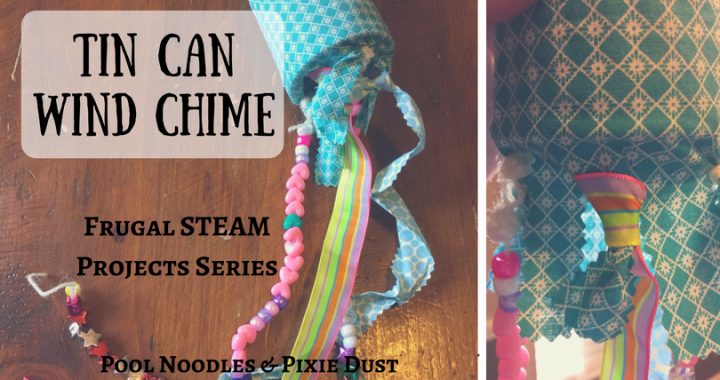
This frugal tin can wind chime project is a great way to decorate your front porch this summer. Making a wind chime is super frugal, especially when using a tin can. It’s also easy to customize so kids can make it their own.
It does require a parent’s help because the tin can be sharp for little fingers and the project requires a couple of holes to be drilled. But, it is so cheap and simple to make you’ll have them hanging as soon as the glue dries.
This is the second frugal crafts and projects post I’ve written. And, I’m hoping to write more soon. You can check out our first project in the series, Bottle Cap Art.
These projects are perfect for roadschooling and full-time RV-ing families, like us, that don’t have space to store a ton of craft supplies. Each of them contains materials you probably already have around the house or can get straight out of the recycling bin.
Tin Can Wind Chime
Materials:
What you need:
- a recycled tin can
- a drill
- scrap fabric
- hot glue
- yarn
- ribbon
- Pony beads
- other crafting materials for decorating
Directions for Assembly:
Prepare the Can
- To start, get out your hot glue gun and plug it in.
- Then, carefully clean a used tin can.
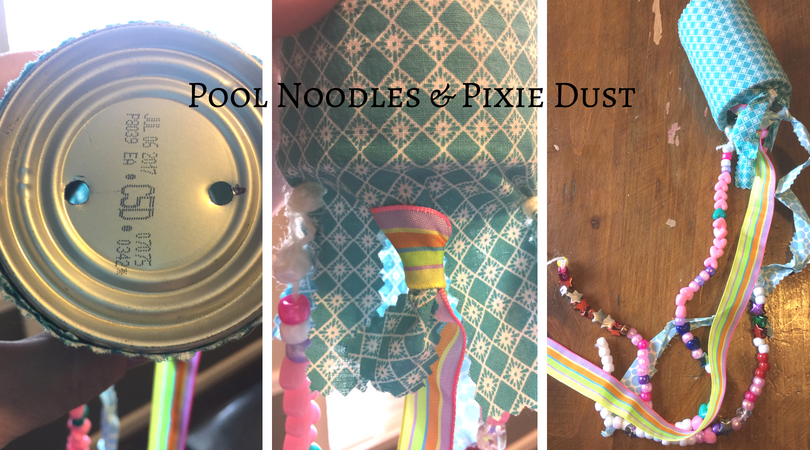
- Next, drill two holes in the bottom. The holes are so you can hang it by a string later. Try to space them a little bit to help the can hang easily.
Adding Fabric
Next, while holding the can upside down so the open side is facing down, wrap a piece of fabric around the outside. Roughly measure your fabric by wrapping it around the can before you start adding glue. Scrap fabric works great for this.
Then, line up the fabric with the bottom rim of the can (first picture below) as you add glue. We didn’t worry about the top of our can showing and just lined up our fabric as best we could to just barely come up over the top edge. Overlap the fabric edges so you conceal the metal underneath.
Hot glue the fabric in place up the seam, while leaving a few inches of fabric hanging past the end of the can.
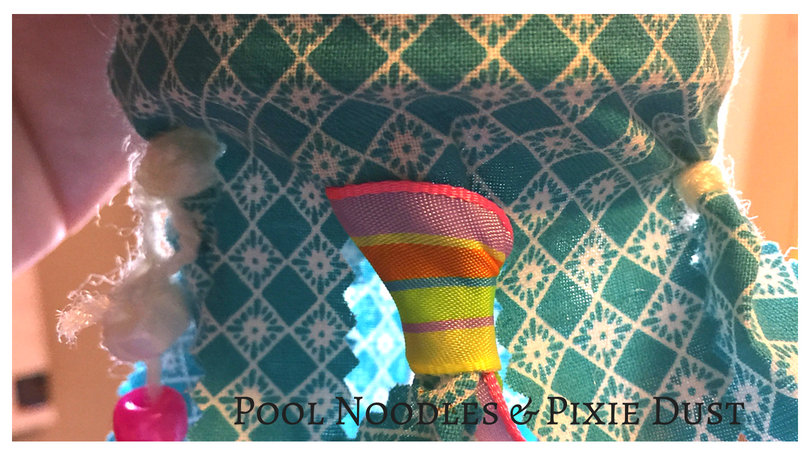
Cut slits up the overhanging fabric at intervals of about an inch apart. This will give you something to tie your decorations too. I used pinking shears hoping it might stop the fabric from fraying too quickly when it was hung outside. When sta started by making one of my fabric “tails” around the seam so that I was sure to tie the seam together.
Time to decorate your Tin Can Wind Chime!
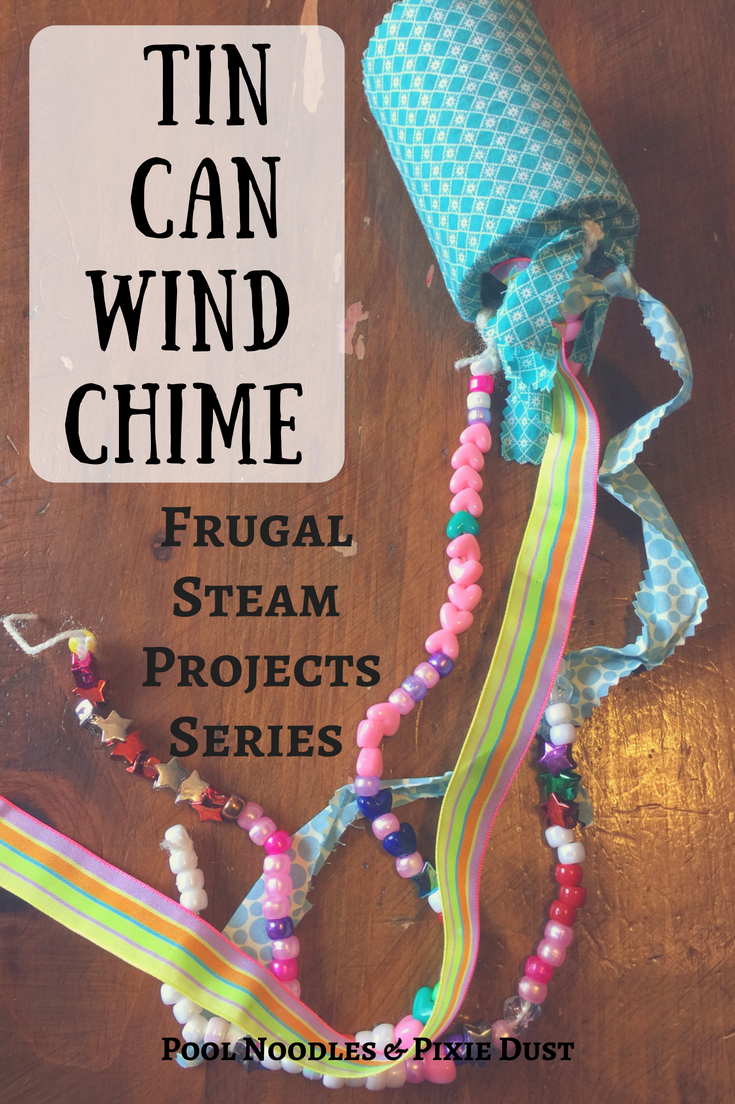
Add strings of beads, strips of lace, ribbon, fabric or anything else you want by tying them to the strips at the bottom of the can. This is where you can get creative and use materials you already have around the house.
We used some white yarn to string bead chains, leaving extra yarn to tie it to a fabric strip when we were done. Then I tied lots and lots and lots of knots in the yarn to keep the beads from slipping off and secured it to the bottom of the can.
I also had bits of colorful ribbon lying around that added color and were easily attached to our chime. This was also a perfect project for those teeny tiny bits of scrap fabric that I hate to throw away, but are hard to use up. I used the pinking shears to cut around the strips and then attached those as well.
You could also add old metal spoons or craft sticks to provide the traditional idea and sound of a wind chime.
Homeschooling costs can add up and spending extra money on craft supplies can feel so frustrating. You can read more about the STEM materials we use and how we do STEM in our homeschool in Tinker Trays, STEM Boxes, and Purposeful Destruction.
https://www.pinterest.com/poolnoodlespixiedust/steam/