We may earn money or products from the companies mentioned in this post.
At our house, we love our toys and we love playing. So, this week we decided to make some of our own DIY thaumatrope toys, especially for spring.
A thaumatrope is an optical illusion toy invented in 1825 by John Ayrton Paris. They are made from a simple paper card or disc with an image printed or drawn on both sides. The image is then twirled rapidly by attaching a string or rubber band to either side. It works by tricking the eye through the persistence of vision. Once the objects are spinning they blend into one, creating the optical illusion.
Check out how thaumatropes work at the Museum of the History of Science.
DIY Thaumatrope
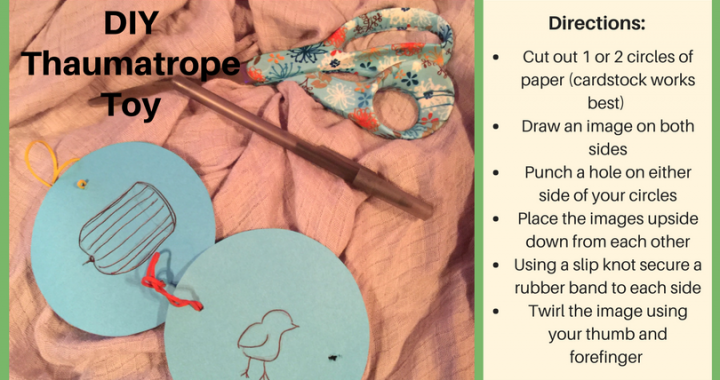
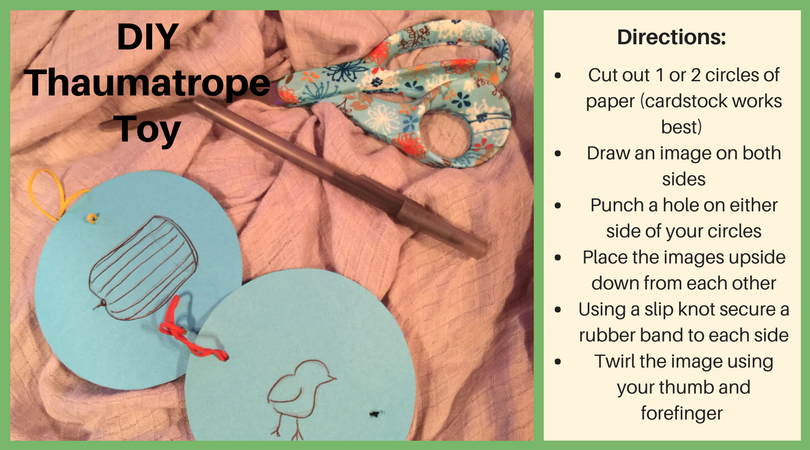
It’s super simple to make your own by just drawing your own images. You can see the simple bird in a cage we made below. To make your own follow the simple instructions below or get inspired by this fun video and tutorial I found.
MetKids Thaumatrope Video and Tutorial
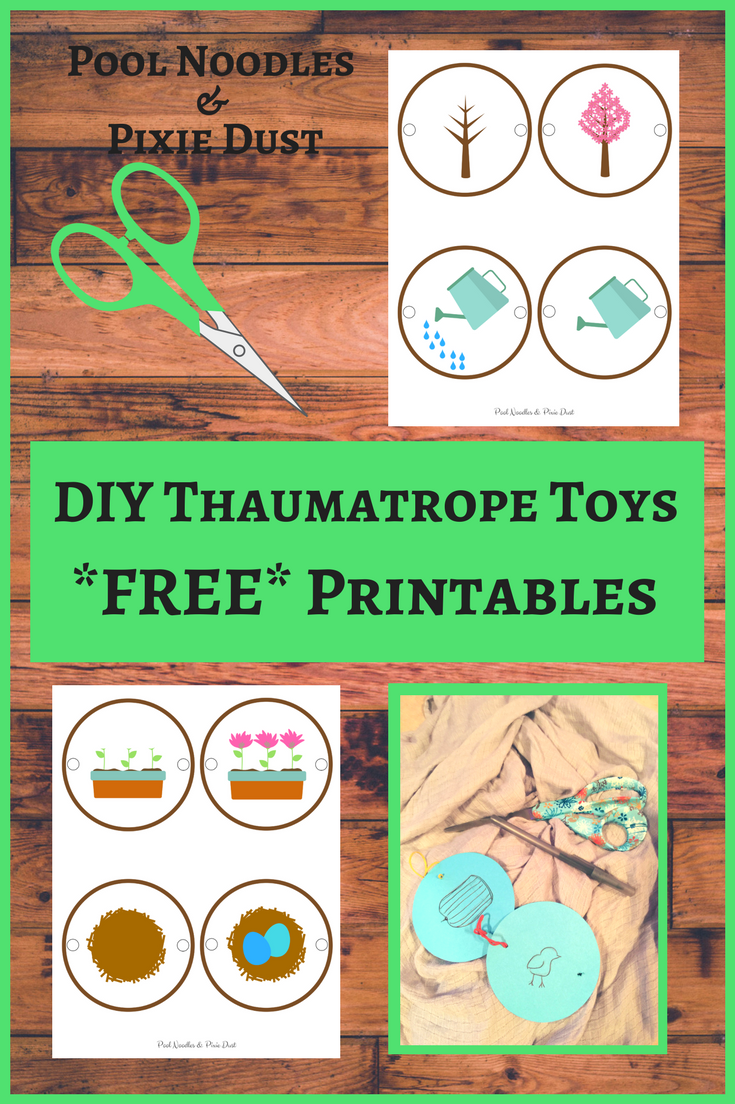
I also decided to make my own printable versions for my kiddos. You can grab them by signing up for our mailing list and accessing the FREE Resource Library. If you’re already signed up just head on over to the Library to instantly download them.
How to Use Thaumatrope Toys
To use the thaumatrope just follow these simple instructions.
Directions for assembly:
- Print or draw your thaumatrope images
- Cut out each picture
- Use a hole punch to cut out a hole on each side
- Tape or glue each pair of images together, *making sure that you place the images upside down from each other or it won’t work correctly!
- Attach a string or rubber band to each side
- With your thumb and forefingers twirl the strings and watch the image blend and move like magic!
Alternatively, you can tape or glue a straw between the two images and twirl the straw in your hands to move it back and forth. Using rubber bands and even string seems to make the image twirl more rapidly, which is critical to seeing the image blend properly. But, this can also be more difficult for little hands to master. Try the different ways to see which works better for you. Either way, it’s great for practicing fine motor skills and it’s just plain fun!
And, you can’t beat how frugal this DIY toy is.
Have fun!
Heidi